


 In addition to the Valentine’s Day cards for the kids at my son’s daycare, I wanted to make some little gifts to give to the girls that care for my son…he loves them so much and they are so wonderful to him! I have seen all over in blogging land, the Target $1 mailboxes that are out for Valentine’s Day. So I headed over and picked up a bunch and also hit Jo-Ann’s to find some Valentine’s Day patterned paper.
The mailboxes are really cute and very easy to cover. I used a 4” x 12” strip of patterned paper to cover the main body of the mailbox and I adhered it using sticky tape. My only tricky part was to punch a hole for the flag…I read before that a ½” circle punch works great for that, but alas I do not have one. So I used a ¼” circle punch and just tried to “make” a ½” circle. Not the prettiest, but I think it worked with out being noticeable. Then just traced the lids of the mailbox onto another sheet of patterned paper and adhered that using Modge Podge…although I think the Tombow Liquid Metal or Multi-purpose Adhesive would work better (but I don’t have any) because the paper could be easily peeled from the lid…just hoping it isn’t handled too much! Then I just decorated the edges of the lids with ribbon again adhered with sticky tape. The little bows were created via inspiration from Nichole Heady’s blog and her instructions here. It makes a nice clean inline bow for a strip of ribbon. I added a little extra decoration with some of the images from the Happy Heart Day stamp set, but I didn’t want to overwhelm the mailbox so I kept it simple.
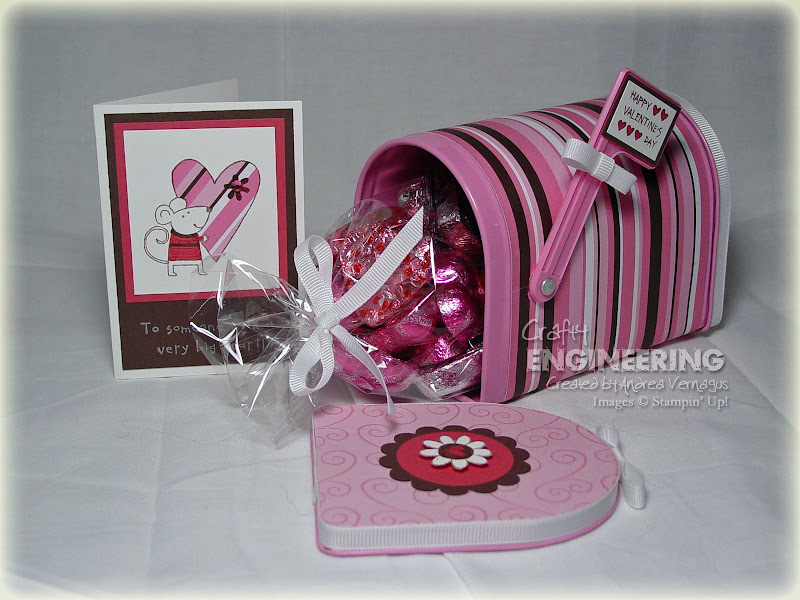
Then, the best part…I filled it with chocolate and a matching little card. I used the mini note cards from Stampin’ Up! that I realized fit perfectly in the little mailbox. The image in the card is again from the Happy Heart Day set and I paper pieced the heart using the striped paper. Colored the shirt of the mouse and the flower on the heart with Rose red and Chocolate Chip markers. A little Rhinestone sticker (Icons Stickers by Me & My Big Ideas available at Jo-Anns) finished it off! Again kept them simple, but I thought it turned out cute. I hope they like them!
I made a second set with a little bit less girly colors to give to my husband and son. Similar matching card to finish it off...with candy of course!

The Engineering Details
Stamps – Happy Heart Day; Ink – Chocolate Chip, Rose Red Marker, Chocolate Chip Marker; Cardstock – Pink Striped (DCWV From Jo-Anns), Pink Swirl (Sandylion Sticker Designs From Jo-Anns), Rose Red, Chocolate Chip, Whisper White; Accessories – Scallop circle punch, 1-3/8” circle punch, white ¼” grosgrain ribbon, Target $1 Spot mailbox; Supplies – sticky tape, Modge Podge, scissors


